No More Razor Bumps! Try This 2-Step Routine for Silky Skin!
If you’ve ever dealt with razor bumps, you know how frustrating they can be. They not only affect your skin’s appearance but can also cause discomfort. Fortunately, there’s a straightforward two-step routine that can help you achieve silky, bump-free skin. It starts with the right preparation and technique, but understanding the underlying causes is just as crucial. Let’s uncover the secrets to a smoother shave and lasting results.
Understanding Razor Bumps and Their Causes
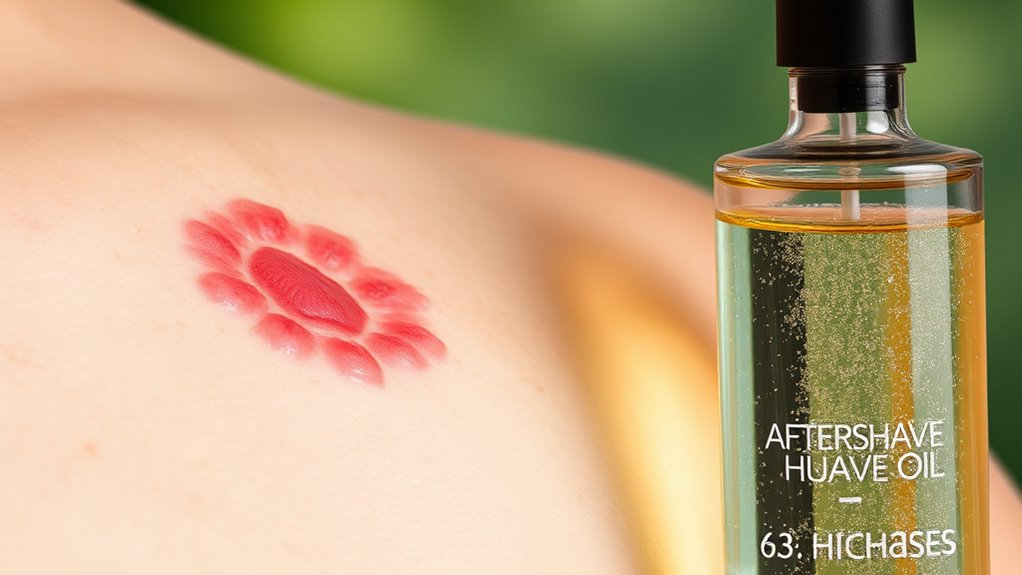
Razor bumps can be frustrating, especially if you’re striving for smooth, silky skin. These pesky little bumps often appear when hair curls back into the skin after shaving, leading to irritation and inflammation.
You’re not alone in this battle, and understanding the causes can help you find the right solutions. To minimize your chances of encountering razor bumps, you’ll want to embrace a razor bumps prevention trick: always shave in the direction of hair growth. This simple adjustment can make a world of difference in preventing irritation. Additionally, using a sharp blade and moisturizing your skin post-shave can further reduce the risk.
Incorporating natural solutions to soothe and heal your skin can also be highly effective in combating these bumps.
Essential Pre-Shave Preparation
Before you even pick up a razor, preparing your skin is crucial for a smooth shave. Start by cleansing your face with warm water and a gentle facial cleanser. This helps to remove dirt and oil, making your skin ready for shaving.
Next, exfoliate to slough off dead skin cells, reducing the risk of bumps and irritation. Exfoliation is especially important because it can help prevent razor bump formation by allowing hairs to grow out properly.
After cleansing and exfoliating, apply a nourishing pre-shave oil or cream. This creates a protective barrier between your skin and the razor, ensuring a closer shave while keeping your skin hydrated.
The Perfect Shaving Technique
While mastering the perfect shaving technique might seem daunting, it’s all about being mindful and deliberate with each stroke.
Start by holding your razor at a 30-degree angle and glide it gently against the hair growth. Avoid pressing too hard; let the razor do the work. Take your time, and don’t rush through it—this is your moment to embrace self-care.
Rinse the blade frequently to keep it clean and effective. If you encounter tricky areas, adjust your grip and stretch the skin slightly for a smoother shave. Additionally, incorporating an overnight remedy can help soothe and calm your skin after shaving.
Post-Shave Care for Smooth Skin
Once you’ve finished shaving, it’s crucial to prioritize post-shave care to keep your skin smooth and irritation-free. Start by rinsing your face with cool water to close the pores, then gently pat it dry. Next, apply a soothing aftershave balm or moisturizer designed for sensitive skin. This helps hydrate and calm any irritation. Remember that maintaining proper post-shave care is essential for preventing further irritation.
Here’s a quick reference table for your post-shave routine:
| Step | Action |
|---|---|
| Rinse | Use cool water to close pores |
| Dry | Gently pat your skin with a clean towel |
| Moisturize | Apply soothing aftershave or balm |
Long-Term Tips to Prevent Razor Bumps
To prevent razor bumps effectively, it’s essential to adopt a few long-term habits that keep your skin healthy and irritation-free.
Start by choosing a high-quality razor suited for your hair type, as this can make a world of difference. Always shave in the direction of hair growth to minimize irritation.
Consider exfoliating regularly to remove dead skin cells, which can clog hair follicles. Moisturizing daily is crucial; use a gentle, fragrance-free lotion to keep your skin hydrated. Incorporating omega-3 fatty acids into your diet can also enhance skin health and reduce inflammation.
Lastly, be mindful of your diet—incorporating omega-3 fatty acids can improve skin health.