This DIY Bleach Brightens Dark Private Areas in Just Days!
If you’re looking for a natural solution to brighten dark private areas, this DIY bleach method might be just what you need. By using common ingredients like hydrogen peroxide, baking soda, and lemon juice, you can achieve a more even skin tone without harsh chemicals. But before you start, it’s important to understand the process and the precautions you should take to ensure safety. Let’s explore how to get the best results effectively.
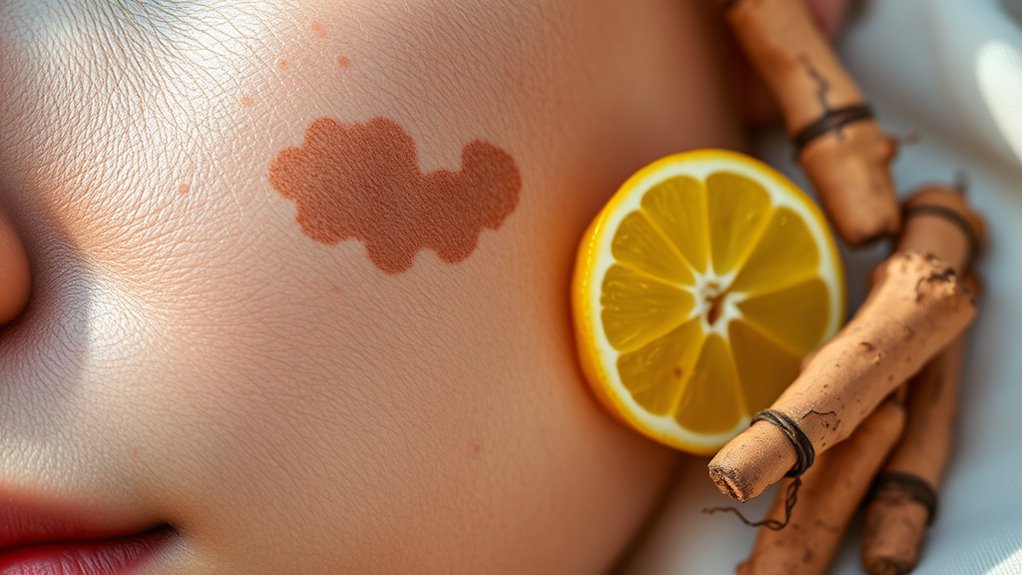
Understanding Skin Discoloration in Private Areas
When you notice skin discoloration in your private areas, it can be both surprising and concerning.
It’s completely normal to feel uneasy about changes in your skin tone, especially in intimate areas. Factors like hormonal changes, friction, and even genetics can contribute to the darkening of your intimate skin.
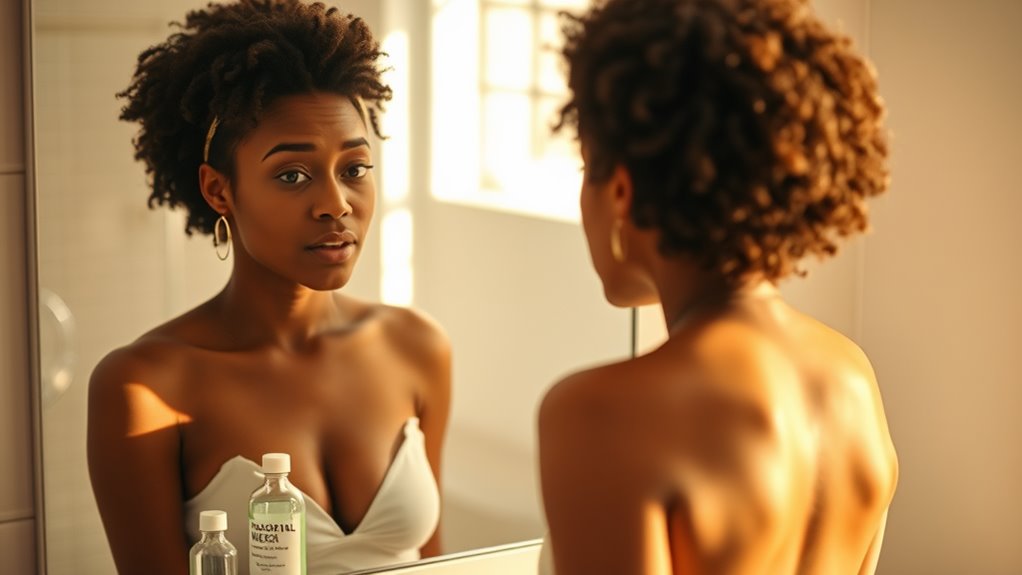
You’re not alone in wanting to lighten dark intimate skin; many people share your desire for a more even tone. Understanding the causes can help you feel more informed and empowered. Gentle DIY tips for brightening intimate areas naturally are available to help you explore safe options.
Remember, it’s important to approach any skin treatment with care. Always consult with a dermatologist before trying new methods, ensuring you choose safe and effective ways to achieve the results you’re looking for.
Your comfort and confidence matter.
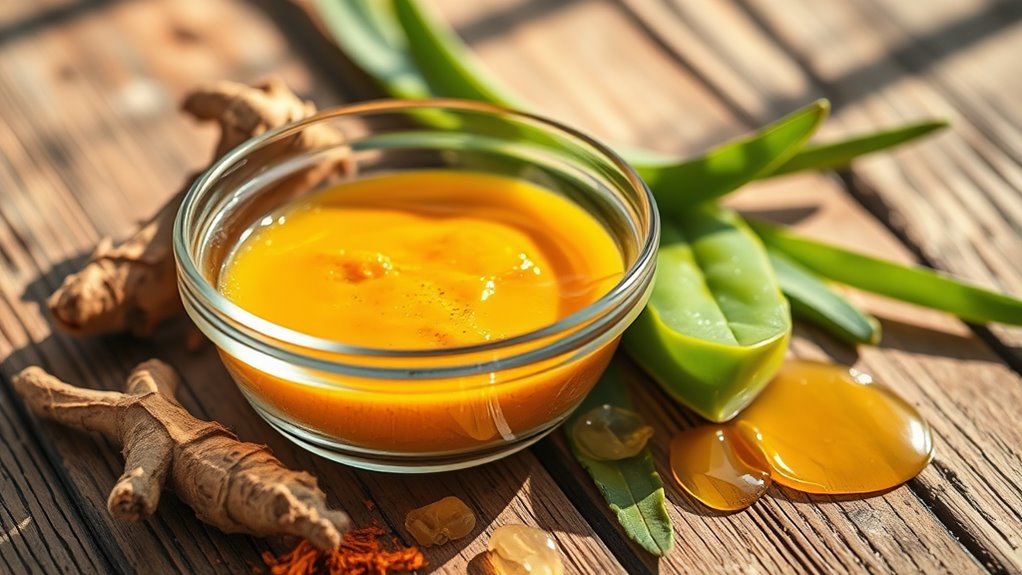
Ingredients Needed for DIY Bleach
To create your own DIY bleach for dark private areas, you’ll need a few essential ingredients that are both effective and easy to find.
Start with hydrogen peroxide, which acts as a gentle whitening agent. Next, grab baking soda; it works as a natural exfoliant and helps to brighten skin.
You’ll also need lemon juice, known for its natural bleaching properties, and a bit of coconut oil to keep your skin moisturized and protected.
Finally, consider adding a few drops of essential oils like lavender or tea tree oil for a soothing scent and added benefits.
These ingredients not only help lighten dark areas but also promote a sense of community, as you share your journey toward confidence with others.
Step-by-Step Instructions for Preparation
Gather all your ingredients before diving into the preparation process.
Start by measuring the required amount of bleach and mixing it with the developer in a small bowl. Stir the mixture gently until it reaches a smooth consistency.
Next, add a few drops of your chosen essential oil to mask the bleach scent and enhance your experience.
Once combined, test a small amount on your skin to ensure you don’t have any adverse reactions. If all’s well, apply the mixture to the desired area using a cotton ball or applicator, being careful to avoid sensitive spots.
Allow it to sit for the recommended time before rinsing thoroughly with cool water. Enjoy your newfound confidence!
Safety Precautions to Consider
After preparing your DIY bleach mixture, it’s important to prioritize safety to prevent any unwanted irritation or damage.
Start by doing a patch test on a small skin area, like your inner arm, to check for any adverse reactions. If you feel any burning or discomfort, don’t use it on sensitive areas.
Always wear gloves to protect your hands, and consider using a mask to avoid inhaling fumes. Make sure to work in a well-ventilated space, keeping the mixture away from your face.
Avoid applying bleach after shaving or waxing, as this can increase sensitivity.
Application Techniques for Best Results
While achieving the best results with your DIY bleach mixture, it’s essential to apply it evenly and carefully.
Start by prepping the area—clean it gently and pat it dry. Using a cotton ball or a small brush, take a little of the mixture and apply it to the dark areas, ensuring you cover every spot.
Work in small sections to maintain control and avoid any mishaps. Remember, less is more; you don’t want to over-saturate the area.
Allow the mixture to sit for the recommended time, then rinse thoroughly with lukewarm water. Always listen to your skin—if you feel any irritation, wash it off immediately.
Consistent application will help you achieve the results you’re looking for!
Expected Timeline for Results
Once you’ve applied your DIY bleach mixture, you’ll naturally want to know when to expect results. Typically, you can start noticing a difference within a few days. However, individual results may vary based on skin type and consistency of application.
Here’s a general timeline you can keep in mind:
-
Day 1-2: Initial lightening may begin.
-
Day 3-5: Noticeable brightening can occur.
-
Week 1: Significant changes might be visible.
-
Week 2: Full results generally appear by now.
Aftercare Tips for Maintaining Brightness
To maintain the brightness of your skin after using a DIY bleach mixture, it’s crucial to adopt a consistent aftercare routine.
First, keep the area clean and dry to prevent irritation. Use a gentle moisturizer daily to nourish the skin and lock in moisture. Avoid harsh soaps and exfoliants, as these can strip away the brightness.
Additionally, consider applying a sunscreen if the area may be exposed to sunlight; this helps prevent darkening from UV rays.
Try to wear breathable fabrics to minimize friction and irritation.
Lastly, stay hydrated and maintain a balanced diet to support overall skin health.