Once everything’s mixed, take a moment to appreciate your creation—you’re already on your way to healthier skin!
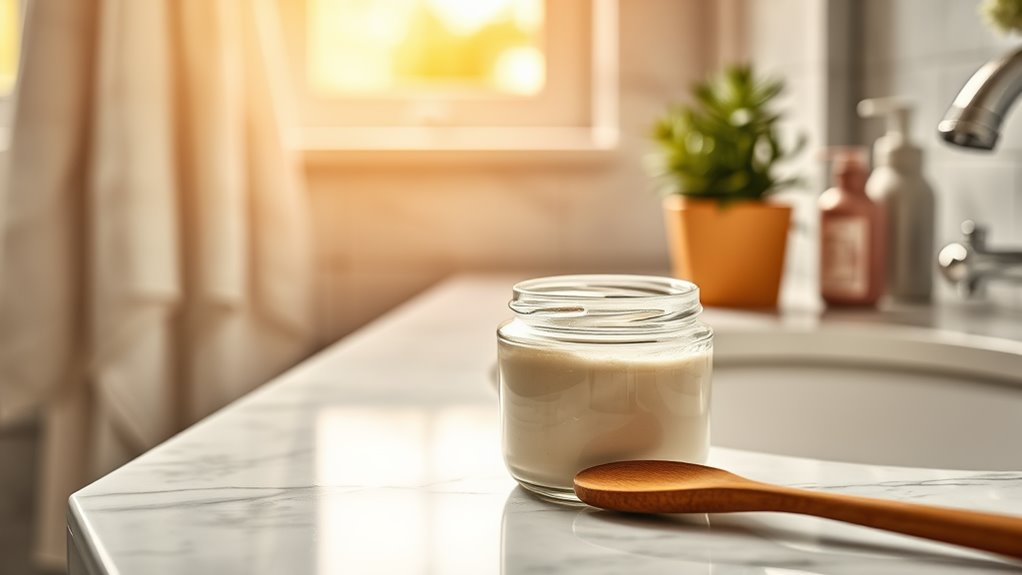
Finally, transfer your mask to a clean container.
Now you’re ready to indulge in some self-care; you deserve it!
Application Techniques for Optimal Results
Now that you’ve prepared your DIY moisturizing mask, it’s time to apply it for maximum benefits.
Start with a clean face; gently cleanse away any dirt or makeup. Using your fingertips, scoop a generous amount of the mask, and apply it evenly across your face in upward, circular motions. This technique not only ensures even coverage but also promotes circulation, enhancing absorption. To achieve optimal hydration, consider incorporating ingredients like hyaluronic acid, which are known for their moisture-retaining properties.
Don’t forget to include your neck for a complete treatment! Allow the mask to sit for 15-20 minutes, giving your skin time to soak up those nourishing ingredients.
To remove, simply rinse with lukewarm water and pat dry. You’ll feel refreshed and hydrated, ready to share your glowing skin with the world!
Additional Tips for Enhanced Moisturization
Enhancing your skin’s hydration goes beyond just applying a moisturizing mask; it’s about adopting a holistic approach to skincare.
Start by drinking enough water daily—staying hydrated from within makes a big difference. Incorporate a gentle exfoliation routine to remove dead skin cells, allowing your mask to penetrate better.
Don’t forget to apply a good serum before your mask; serums packed with hyaluronic acid can boost moisture levels significantly. Also, consider using a humidifier in your living space, especially during dry months. Additionally, overnight treatments can provide your skin with the necessary nutrients to repair and rejuvenate while you sleep.
Lastly, keep your skincare routine consistent; finding a rhythm helps your skin adjust and thrive.