Frizzy, Rough Hair. This DIY Mask Transforms It Instantly!
If you’ve ever struggled with frizzy, rough hair, you know how frustrating it can be. It feels unmanageable and dull, leaving you searching for solutions. Fortunately, there’s a simple DIY mask that can transform your hair almost instantly. By using a few nourishing ingredients, you can restore hydration and shine. Curious about how to create and apply this effective treatment? Let’s explore the steps and see how it can revitalize your locks.
Understanding Frizzy and Rough Hair
Frizzy and rough hair often occurs when your strands lack moisture and become damaged, leading to a rough texture and unruly appearance.
You’re not alone in this struggle; many of us deal with hair that feels unmanageable and looks less than its best. To combat this, you’ll want to focus on hydration and nourishment.
The best remedy for rough hair is a DIY hair mask that revitalizes your strands and restores their natural shine. By using simple, natural ingredients, you can create a mask that not only smooths frizz but also strengthens your hair. Creating a DIY leave-in treatment is an effective way to maintain hydration and protect your hair from further damage.
Embracing this process helps you connect with others who share similar hair challenges, creating a sense of community as you work towards healthier, more beautiful locks together.
Essential Ingredients for the DIY Hair Mask
To tackle frizz and roughness effectively, choosing the right ingredients for your DIY hair mask is key. Here’s a quick reference to essential ingredients that can make a significant difference:
| Ingredient | Benefits |
|---|---|
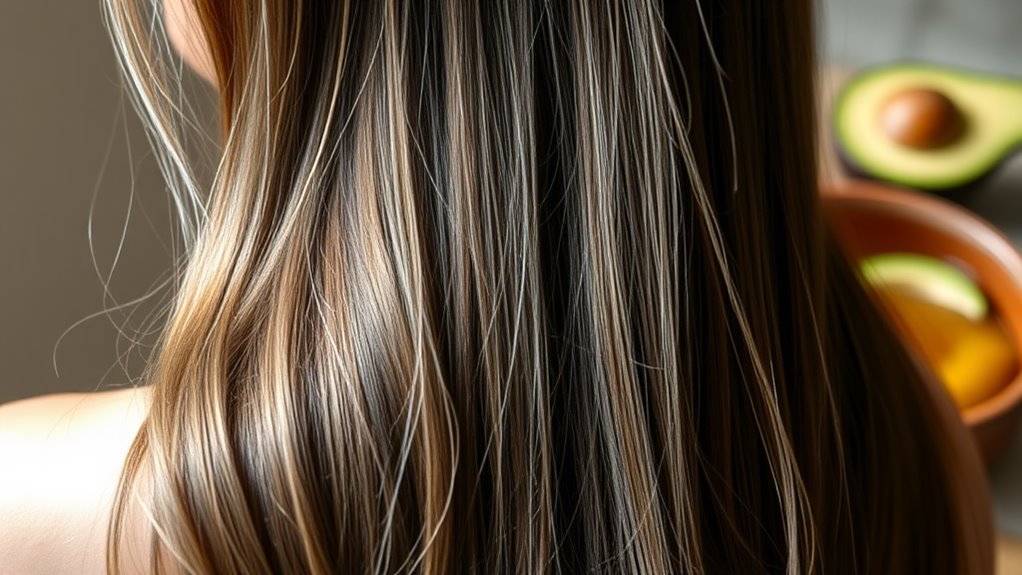
| Avocado | Rich in vitamins and healthy fats, it nourishes and softens hair. |
| Coconut Oil | Penetrates deeply, providing moisture and reducing frizz. |
| Honey | Natural humectant that locks in moisture and adds shine. |
| Aloe Vera | Soothes the scalp and hydrates hair, promoting smoothness. |
| Olive Oil | Adds shine and strengthens hair while controlling frizz. |
Using these ingredients, you’ll create a mask that not only transforms your hair but also fosters a sense of community and shared beauty experiences. A comprehensive guide shows how to tame unruly hair using an easy DIY deep conditioning treatment made from natural ingredients. Embrace the journey to healthier hair!
Step-by-Step Instructions for Creating the Mask
Creating your DIY hair mask is a straightforward process, and once you gather your ingredients, you’ll be ready to transform your hair.
Start by measuring out two tablespoons of coconut oil and one tablespoon of honey. Next, add one ripe avocado and mash it until smooth.
Combine these ingredients in a bowl, mixing them well until you achieve a creamy consistency. If your hair’s extra dry, consider adding a splash of olive oil for added moisture.
Once mixed, you can customize it with a few drops of your favorite essential oil for a pleasant scent. Coconut oil is known for its ability to transform coarse strands into silky-smooth hair, making it an excellent addition to your mask.
You’re just a few steps away from nourishing your locks and feeling a sense of community with others who are on the same hair care journey!
How to Apply the Hair Mask Effectively
Applying your hair mask effectively can make all the difference in achieving soft, manageable locks.
Start with clean, damp hair—this helps the mask penetrate better. Divide your hair into sections to ensure even application.
Take a generous amount of the mask and apply it from mid-length to the ends, avoiding the roots to prevent greasiness. Use your fingers to gently work the mask through your hair, ensuring every strand is coated.
For best results, consider using a wide-tooth comb to distribute the product evenly.
Once applied, twist your hair into a loose bun and cover it with a shower cap. Let the mask sit for at least 20-30 minutes to work its magic, then rinse thoroughly.
Enjoy your luscious locks!
Recommended Frequency of Use
Regularly using a hair mask can significantly improve the texture and manageability of your frizzy hair.
To get the best results, aim to apply the mask once a week. This frequency allows your hair to absorb the nutrients without overwhelming it. If your hair feels extra dry or damaged, you might consider using it twice a week for a boost.
Listen to your hair; it’ll tell you what it needs. On the other hand, if you notice any buildup, cut back to every other week.
Anticipated Results After Application
What can you expect after using a DIY hair mask for frizzy hair? You’ll likely notice a remarkable transformation. Your hair should feel softer and smoother right away, with frizz significantly reduced.
This mask nourishes each strand, leaving your locks more manageable and easier to style. You might also find that your hair has a beautiful shine that reflects your vibrant personality.
Plus, the natural ingredients work to hydrate, so dryness becomes a thing of the past. With consistent use, you’ll enjoy long-lasting results, creating a sense of belonging to a community that celebrates healthy hair. Additionally, the natural ingredients in the mask help to restore moisture balance, which is crucial for maintaining hair health.
Tips for Maintaining Smooth and Manageable Hair
To keep your hair smooth and manageable, start by adopting a consistent hair care routine that suits your specific hair type. Regular trims, hydrating masks, and gentle shampoos can make a world of difference. Don’t forget to protect your hair from heat styling tools and harsh weather. Additionally, consider incorporating natural remedies that can help prevent and eliminate static electricity from your hair.
Here’s a quick guide to help you maintain your luscious locks:
| Hair Type | Recommended Products |
|---|---|
| Curly | Leave-in conditioner, oils |
| Straight | Lightweight serum, cream |
| Wavy | Sea salt spray, mousse |
| Coily | Heavy cream, butter |
| Color-treated | Sulfate-free shampoo, mask |