Frizz and Static. This DIY Spray Is a Game Changer!
Frizz and static can definitely sabotage your hairstyle, but this DIY spray is a total game changer! With just water, aloe vera gel, and a few drops of essential oil, you can create a powerful elixir that tames those unruly strands. Simply mix the ingredients, spray on your hair, and watch as frizz and static vanish. You’ll enjoy smoother, healthier locks and boosted confidence. Stick around to discover more tips for perfecting your formula and application!
Understanding Frizz and Static
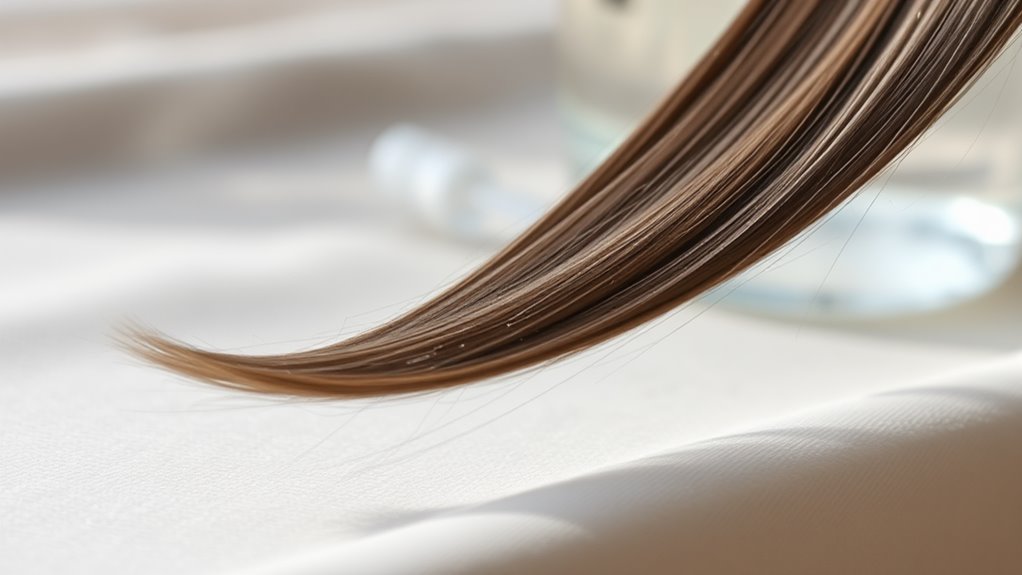
Frizz and static can feel like unwelcome guests at your hair party, ruining your look and leaving you frustrated. Understanding the causes is the first step to reclaiming your style. Frizz occurs when hair absorbs moisture from the air, while static arises from lack of humidity, making your strands cling to each other. To combat these issues, you need an effective anti-static hair remedy. This isn’t just about aesthetics; healthier hair benefits your overall confidence. By tackling frizz and static head-on, you’ll achieve smooth, polished locks that shine. Embrace the power of knowledge, and take control of your hair today! Utilizing an instant anti-static technique can significantly enhance your results.
Ingredients You Will Need
Creating your own frizz-fighting spray is a rewarding endeavor that requires just a few simple ingredients. You’ll love how easy it is to gather what you need for smoother, more manageable hair. Here’s a quick reference:
| Ingredient | Purpose | Amount |
|---|---|---|
| Water | Base for the spray | 1 cup |
| Aloe Vera Gel | Moisturizes and controls frizz | 2 tablespoons |
| Essential Oil | Adds fragrance and shine | 5 drops |
Using these ingredients can help you combat static electricity in your hair, allowing for a fabulous spray that tames your hair and boosts your confidence!
Step-by-Step Instructions
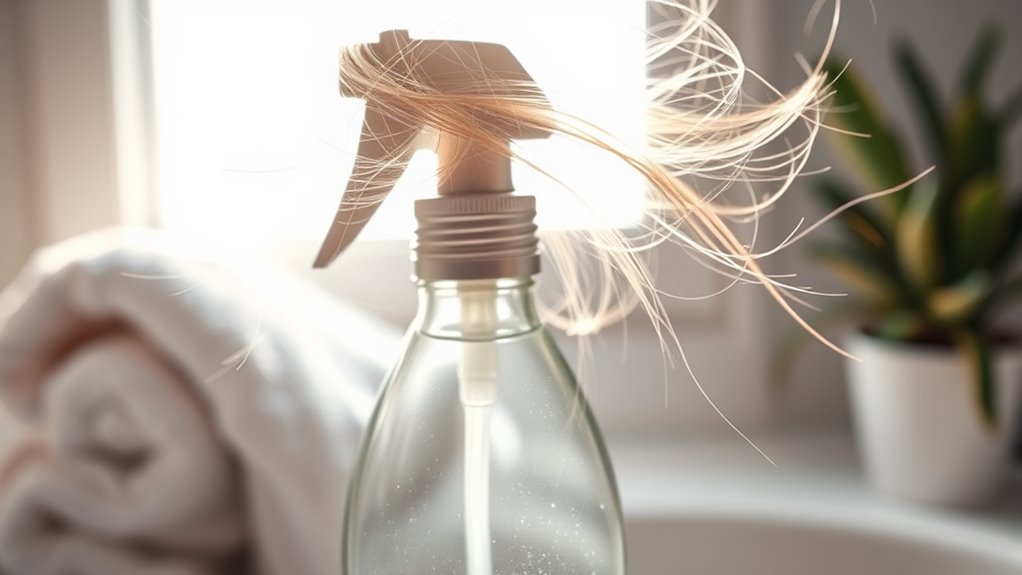
Get ready to transform your hair with just a few simple steps! Follow this easy guide to create your DIY frizz-fighting spray:
- Gather your ingredients: water, essential oils, and a spray bottle
- Measure the water: use about 1 cup as your base
- Add essential oils: mix in 10-15 drops for fragrance and benefits
- Shake well: combine all ingredients thoroughly
- Pour into the spray bottle: make sure it’s sealed tight
Once you’ve completed these steps, you’ll have a powerful ally against frizz and static. Static hair is often caused by dry conditions, so this fantastic DIY solution will ensure your hair stays smooth and static-free throughout the day! Your hair will thank you for this fantastic DIY solution!
How to Apply the Spray
Now that you’ve crafted your DIY frizz-fighting spray, it’s time to put it to good use. Start by shaking the bottle to mix the ingredients well.
Hold the spray about 6-8 inches away from your hair, focusing on the mid-lengths and ends where frizz often thrives. Lightly mist your hair, avoiding the roots to prevent greasiness.
You can apply it on dry hair for quick touch-ups or on damp hair before styling. Don’t overdo it—less is more!
With just a few spritzes, you’ll notice smoother, shinier locks that are free from frizz and static. This spray helps in moisture-retention techniques, ensuring your hair remains hydrated throughout the day. Enjoy your fabulous hair!
Tips for Best Results
To achieve the best results with your DIY frizz and static spray, it’s essential to use high-quality ingredients tailored to your hair type.
Here are some tips to ensure your spray works wonders:
- Choose lightweight oils like argan or jojoba for hydration.
- Use distilled water to prevent impurities from affecting your hair.
- Add a few drops of essential oil for a pleasant fragrance.
- Test the spray on a small section first to gauge effectiveness.
- Store your mixture in a cool, dark place to maintain its potency.
Additionally, incorporating natural ingredients in your treatment can significantly enhance its effectiveness.
Follow these tips, and you’ll notice smoother, shinier hair in no time!
Additional Benefits of the Spray
Not only does your DIY spray tackle frizz and static, but it also boosts moisture retention and acts as a heat protection shield. You’ll love how it keeps your hair hydrated and safeguarded from styling tools. Additionally, incorporating essential oils into your spray can enhance its nourishing properties, giving your hair the care it deserves!
Moisture Retention Boost
One of the standout features of your DIY spray is its ability to enhance moisture retention in your hair.
This isn’t just about frizz control; it’s about giving your locks the nourishment they crave.
Here’s why you’ll love it:
- Locks in hydration for softer strands
- Reduces dryness and brittleness
- Boosts shine for a healthier look
- Helps maintain your hairstyle longer
- Strengthens hair against damage
Heat Protection Shield
A key benefit of your DIY spray lies in its ability to act as a heat protection shield, ensuring your hair stays safe from the damaging effects of styling tools.
By applying it before using blow dryers, straighteners, or curling irons, you create a barrier that helps prevent moisture loss and breakage.
This added layer of protection not only keeps your hair looking healthy but also enhances its shine.
Plus, you’ll find that your styles last longer, too!
Embrace the power of your DIY spray and enjoy beautifully styled hair without the worry of heat damage. Your locks deserve it!
Storing Your DIY Spray
To keep your DIY spray effective, choosing the right storage container is key.
Opt for dark glass bottles to protect the ingredients from light and maintain their potency.
Additionally, store your spray in a cool, dry place to ensure it stays fresh for longer. Using natural ingredients in your DIY spray can also enhance its effectiveness and reduce the risk of irritation.
Best Storage Containers
Choosing the right storage container for your DIY spray can make all the difference in preserving its effectiveness and preventing spills.
Opt for containers that are:
- Opaque: Protects your spray from light degradation.
- Glass: Non-reactive and keeps ingredients fresh.
- Spray Bottles: Allows for even application and reduces waste.
- Tightly Sealed: Prevents evaporation and contamination.
- Portable: Easy to carry for on-the-go touch-ups.
Investing in quality storage not only maintains your DIY spray’s potency but also enhances your experience.
Ideal Temperature Conditions
Maintaining the right temperature for your DIY spray is crucial to preserving its effectiveness.
Store your spray in a cool, dark place, ideally between 60°F and 75°F.
Avoid direct sunlight or extreme heat, as these can break down the ingredients and reduce performance.
If you notice any changes in color or scent, it’s time to discard it.
Remember, a well-stored spray not only works better but also lasts longer, saving you time and money.